Setting Up
Setting Up
Both Burp and ZAP are available for Windows, macOS, and any Linux distribution. Both are already installed on your PwnBox instance and can be accessed from the bottom dock or top bar menu. Both tools are pre-installed on common Penetration Testing Linux distributions like Parrot or Kali. We will cover the installation and setup process for Burp and Zap in this section which will be helpful if we want to install the tools on our own VM.
Burp Suite
If Burp is not pre-installed in our VM, we can start by downloading it from Burp's Download Page. Once downloaded, we can run the installer and follow the instructions, which vary from one operating system to another, but should be pretty straightforward. There are installers for Windows, Linux, and macOS.
Once installed, Burp can either be launched from the terminal by typing burpsuite, or from the application menu as previously mentioned. Another option is to download the JAR file (which can be used on all operating systems with a Java Runtime Environment (JRE) installed) from the above downloads page. We can run it with the following command line or by double-clicking it:
Setting Up
gg13gg@htb[/htb]$ java -jar </path/to/burpsuite.jar>
Note: Both Burp and ZAP rely on Java Runtime Environment to run, but this package should be included in the installer by default. If not, we can follow the instructions found on this page.
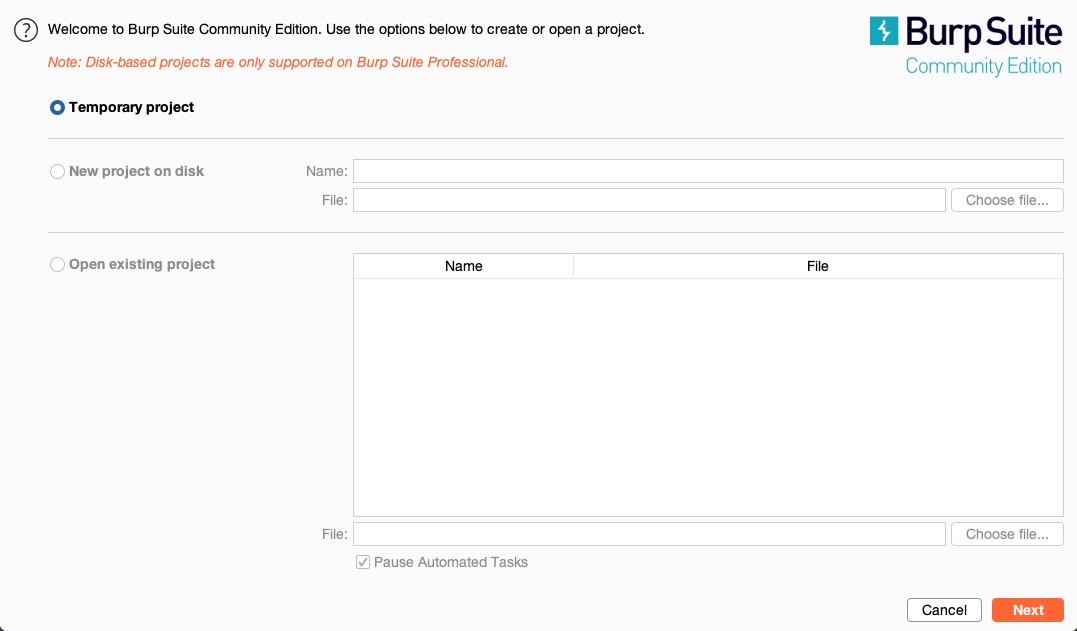
Once we start up Burp, we are prompted to create a new project. If we are running the community version, we would only be able to use temporary projects without the ability to save our progress and carry on later:
If we are using the pro/enterprise version, we will have the option to either start a new project or open an existing project.
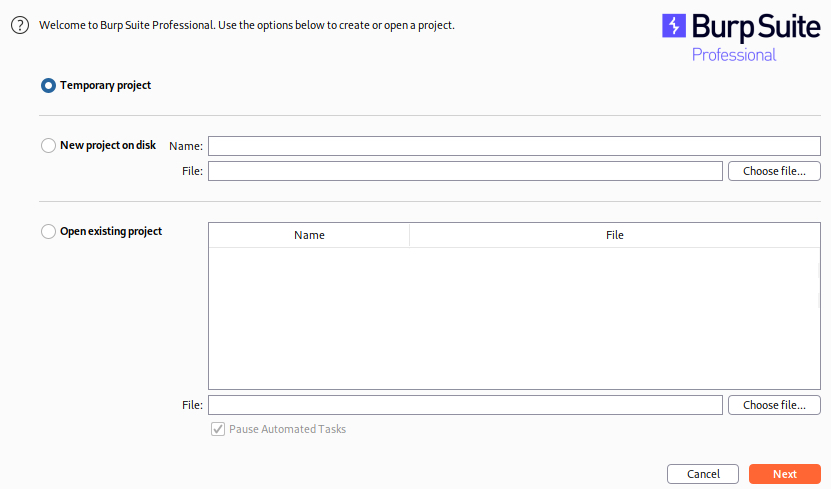
We may need to save our progress if we were pentesting huge web applications or running an Active Web Scan. However, we may not need to save our progress and, in many cases, can start a temporary project every time.
So, let's select temporary project, and click continue. Once we do, we will be prompted to either use Burp Default Configurations, or to Load a Configuration File, and we'll choose the first option:
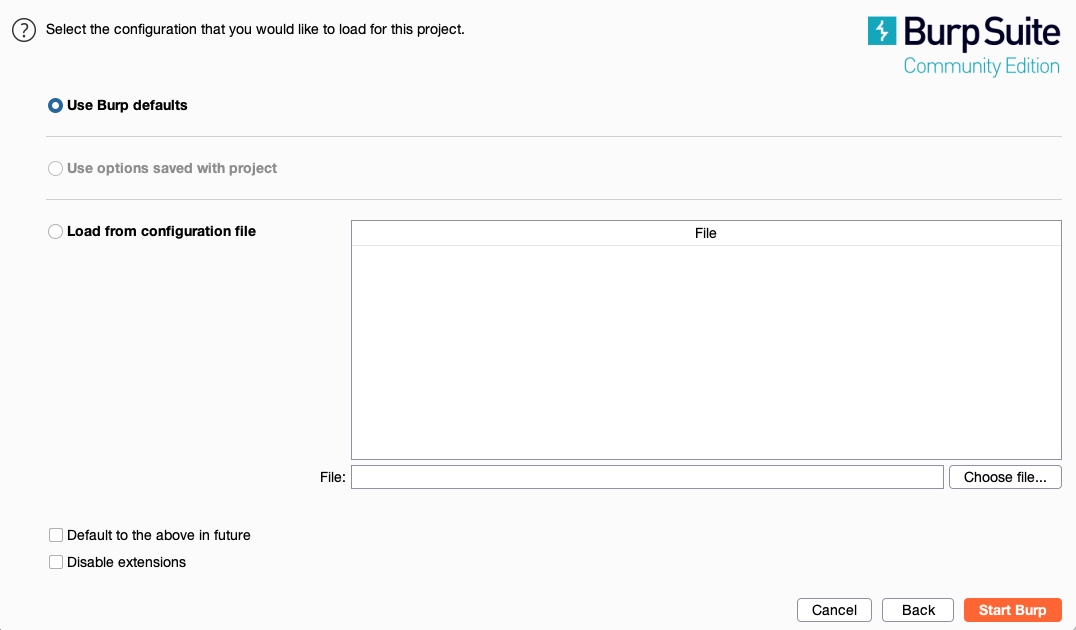
Once we start heavily utilizing Burp's features, we may want to customize our configurations and load them when starting Burp. For now, we can keep Use Burp Defaults, and Start Burp. Once all of this is done, we should be ready to start using Burp.
ZAP
We can download ZAP from its download page, choose the installer that fits our operating system, and follow the basic installation instructions to get it installed. ZAP can also be downloaded as a cross-platform JAR file and launched with the java -jar command or by double-clicking on it, similarly to Burp.
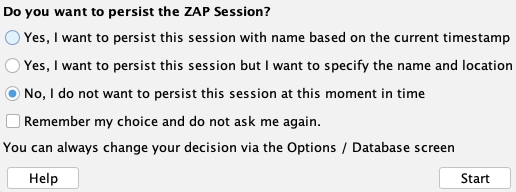
To get started with ZAP, we can launch it from the terminal with the zaproxy command or access it from the application menu like Burp. Once ZAP starts up, unlike the free version of Burp, we will be prompted to either create a new project or a temporary project. Let's use a temporary project by choosing no, as we will not be working on a big project that we will need to persist for several days:
After that, we will have ZAP running, and we can continue the proxy setup process, as we will discuss in the next section.